Finished the basic design and 3D printing exercises in Onshape, which finally meant designing something real, printing it, and holding it. Two phone stands, one adjustable and one fixed. Both printed on the first try, and both actually work.
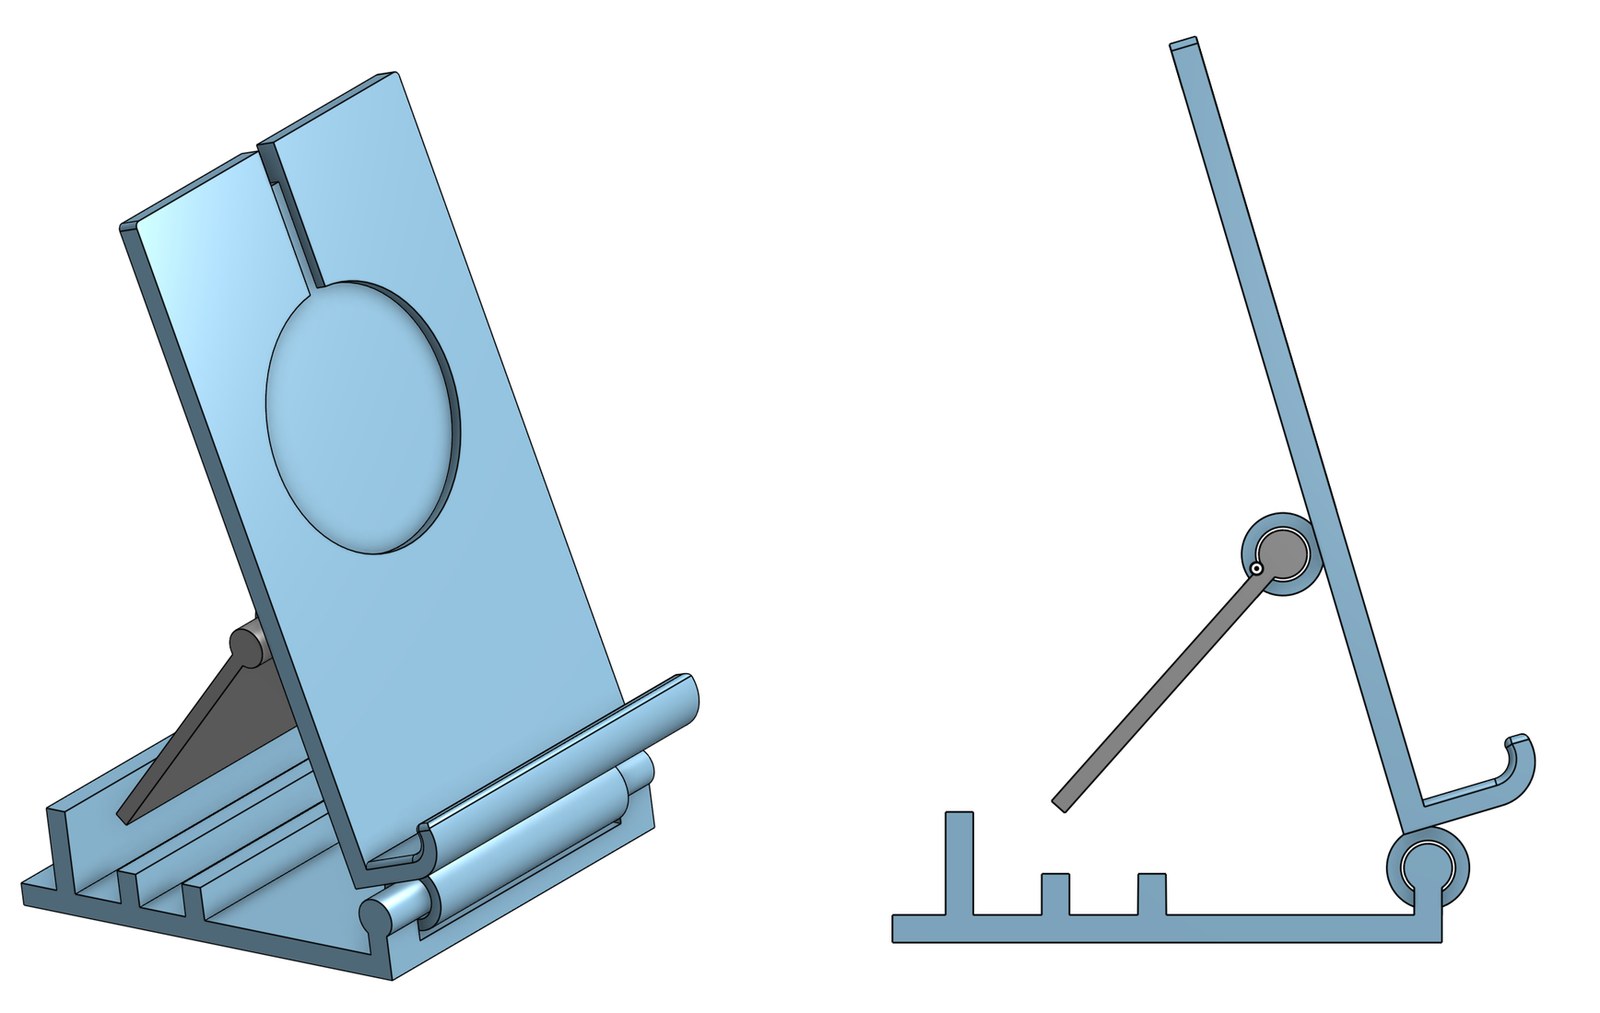
They look rough. Nobody’s handing me a design award, the surfaces are a little crude, but the dimensions came out spot on and each one does its job. The adjustable one adjusts, the fixed one holds its angle. Honestly did not expect both to work on the first go. I think it comes down to the one CAD habit that stuck from last week: constrain the sketch fully. If every dimension is pinned and nothing floats, the part comes out the size you actually typed. Turns out that matters a lot when a machine is about to build it in plastic.
Then came the annoying part, and it had nothing to do with CAD.
Getting it onto the printer was the real fight. I’m printing on a Creality K1 Max through Creality Print. Designing the parts was smooth. Moving the assembly from Onshape into the slicer is where I lost an embarrassing amount of time.
I exported the assembly as a 3MF, since that’s the format that’s supposed to carry multiple parts and their positions. Creality Print had its own opinion. It ripped the parts out of the assembly, scattered them across the plate, tilted a few for good measure, and every time I hit auto-arrange it got worse. I’d carefully laid everything flat in CAD and it showed up looking like someone kicked the box over. I spent longer putting it back together in the slicer than I did designing the thing, which is exactly the wrong way round.
STL fixed it instantly. I gave up on 3MF and exported the whole assembly as a single STL instead. That flattens everything into one mesh with the positions baked in, so the slicer just sees one object, drops it flat, and puts it exactly where the model said. Nothing to scatter, no import prompt to get wrong. For a single-color print that was the entire fix, and I wish I’d started there.
A few smaller things I picked up along the way:
- The slicer doesn’t care what angle you’re looking from. It reads the assembly origin and treats the Top plane as the bed. If your Top view doesn’t already look like how you want it sitting on the plate, the export won’t either.
- You can’t fix the layout in the slicer. Rotating there just spins the whole thing as one lump. If the parts are posed wrong relative to each other, you fix that back in CAD, lay it flat, and check it from the side, because a tilted part looks perfectly flat from directly above.
- STL has no units. It’s just raw numbers and the slicer assumes millimeters. Export in inches and your four-inch stand shows up four millimeters tall. Ask me how I know.
Two ugly stands that hold up a phone. Good enough for a first real print. Next one, I’ll try to make it look like less of a prototype.